I got some custom Cobra emblems made for my car by the people at EmblemPros. They’re made of thick vinyl and have a backing of 3M double sided tape. I’ll be putting them on as soon as it gets a little warmer outside (or I get my hands on a hair dryer).
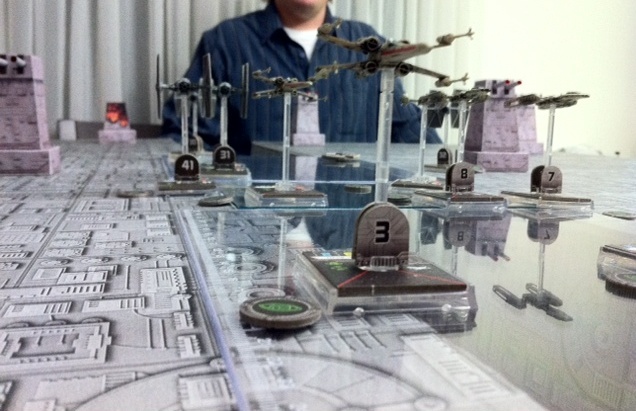
This past New Year’s Eve, I hosted an epic session of the X-wing: Miniatures Game using the Death Star Trench play mat that my friends and I recently built.
Here are the rules we made up for the scenario:
Rebels (3 players):
The Rebels had four groups of three X-wings and two groups of three Y-wings. Only three groups could be in play at a time. When one group is wiped out, another group can enter play. Each group is worth 80 points.
The Rebels win when they successfully blow up the Death Star.
The specific Rebel groups are as follows:
Rebel Group 1
Luke Skywalker, R2-D2
Red Squadron Pilot, R2-D6, Adrenaline Rush
Rookie Pilot, R5-K6
Rebel Group 2
Wedge Antilles, R3-A2, Hull Upgrade
Red Squadron Pilot, R2 Astromech
Rookie Pilot, R2 Astromech
Rebel Group 3
Jek Porkins, R2 Astromech, Daredevil
Biggs Darklighter, R2-F2
Rookie Pilot, R2 Astromech
Rebel Group 4
Garven Dreis, R2 Astromech
Red Squadron Pilot, R2 Astromech, Ion Torpedo
Red Squadron Pilot, R2 Astromech
Rebel Group 5
Horton Salm, R5 Astromech, Flechette Torpedoes
Gray Squadron Pilot, R2 Astromech, Ion Cannon Turret
Gray Squadron Pilot, R2 Astromech, Ion Cannon Turret
Rebel Group 6
“Dutch” Vander, R5 Astromech, Ion Cannon Turret
Gold Squadron Pilot, R5-D9, Ion Cannon Turret
Gold Squadron Pilot, R5-P9, Blaster Turret
Empire (3 players):
The Empire had unlimited number of Black Squadron TIE Fighter groups. Each group consisted of four TIEs and is worth 80 points. Only two groups could be in play at a time.
The Empire also had a special group consisting of Vader, Backstabber, and Mauler Mithel (also worth 80 points). This group enters play in the trench the next turn after the first Rebels enter the trench.
Lastly, the Imperials had eight turbo laser towers, each placed at least range 2 from any other tower. Each turbo laser tower could fire in a 360° arc at ranges 2-3 with an attack power of 4. Any crits scored by a tower is changed ti a hit. The towers have 4 hull, no shields, no evades, and could not take critical hits (any crits rolled against them are changed to regular hits). Ships defending against turbo laser fire double their agility when making their evade rolls. Colliding with a turbo laser tower causes two attack dice worth of damage to be rolled against both the colliding ship and the tower.
To activate the turbo laser towers, the Death Star generates 5 energy at the start of every round. The energy can be secretly allocated to any turbo laser tower before any ships move. Up to 2 energy can be allocated per tower per turn, and each tower can store a maximum of 4 energy. The turbo laser towers fire after all other ships have fired, and each tower requires 2 stored energy to fire once, after which 2 stored energy is expended. If a turbo laser is hit with any ion weapon, it loses all its stored energy.
If a turbo laser is destroyed, it remains an obstacle.
The Imperials win when all Rebel ships are destroyed.
Black Squadron Pilot, Expert Handling, Hull Upgrade
Black Squadron Pilot, Ruthlessness, Engine Upgrade
Black Squadron Pilot, Predator, Engine Upgrade
Black Squadron 2
Black Squadron Pilot, Wingman, Hull Upgrade
Black Squadron Pilot, Expert Handling, Engine Upgrade
Black Squadron Pilot, Outmaneuver, Hull Upgrade
Black Squadron Pilot, Opportunist, Hull Upgrade
Black Squadron 3
Black Squadron Pilot, Elusiveness, Engine Upgrade
Black Squadron Pilot, Predator, Hull Upgrade
Black Squadron Pilot, Wingman, Engine Upgrade
Black Squadron Pilot, Marksmanship, Hull Upgrade
Black Squadron 4
Black Squadron Pilot, Push the Limit, Engine Upgrade
Black Squadron Pilot, Ruthlessness, Hull Upgrade
Black Squadron Pilot, Draw Their Fire, Hull Upgrade
Black Squadron Pilot, Marksmanship, Engine Upgrade
Black Squadron 5
Black Squadron Pilot, Push the Limit, Hull Upgrade
Black Squadron Pilot, Outmaneuver, Engine Upgrade
Black Squadron Pilot, Intimidation, Hull Upgrade
Black Squadron Pilot, Daredevil, Hull Upgrade
The Imperial players can choose any Black Squadron group to start with and to use as unlimited reinforcements.
Play:
The Rebels deploy on the surface at the end of the play area with the exhaust port. The Imperials deploy on the opposite side. The Rebels must fly the entire length of the surface and off the Imperial edge of the board in order to enter the trench. When any ship flies off the Imperial edge of the board, it is taken out of play until the next round where it appears anywhere along the trench during the activation phase and immediately executes its maneuver.
While ships are in the trench, the player controlling the turbo laser towers can elect to also fire the trench guns. The trench guns, when fired, perform a 2 dice attack on all ships — friend or foe — in the trench (each ship being attacked can evade as normal).
To exit the trench, the player must either use its action to elevate itself out of the trench or perform a koiogran turn (for the k-turn, the ship would be moved and turned about-face as normal, but it would also be elevated up above the trench). A clear piece of acrylic is used to support ships flying above the trench. Ships above the trench cannot shoot at ships in the trench, and vice versa.
To destroy the Death Star, a Rebel ship must target lock the exhaust port and fire a proton torpedo at it (each Rebel ship is given a free proton torpedo which is only to be used for a shot on the exhaust port). The player must naturally roll one at least one crit plus a second hit or crit to succeed.
This is only the first time we’ve played this scenario we made up, so we don’t know if any rules needs to be tweaked. It worked out really well, however, with only one X-wing making it to the exhaust port with a single hull point left, and that X-wing making a successful shot.
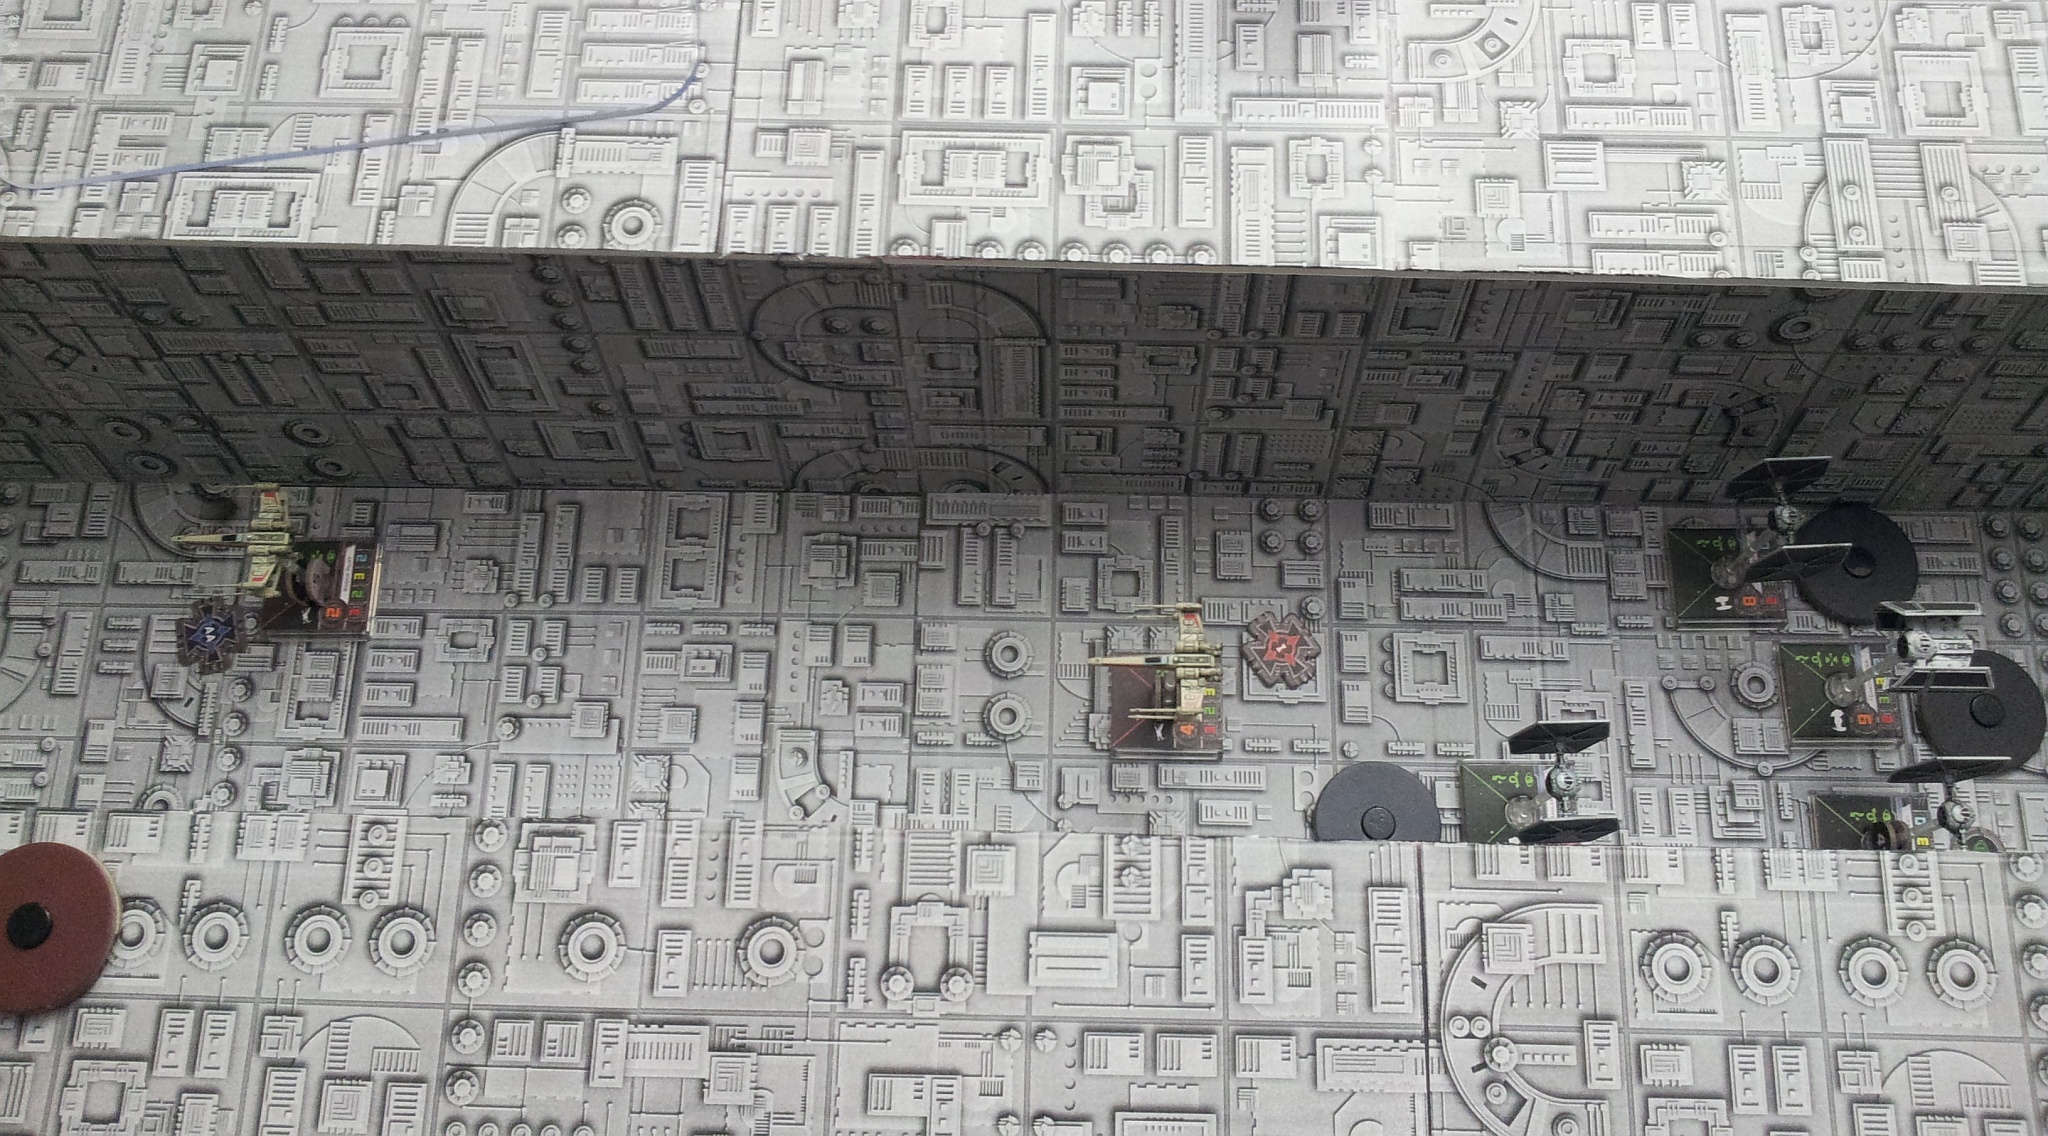
Here are some photos of how our game went:
The initial setup
The TIE Fighters advance
Two turbo laser towers down!
Approaching the enemy
The fighters clash!
Red Squadron focuses their fire
Measuring distance to target
The first casualties
The Rebels break away
Racing to enter the trench
Black Squadron is hot on the Rebels’ tails
Another view of the action
Go, Rebels, go!
View from the trench
The first X-wings prepare to enter the trench
More Rebels ready to start their run
Vader appears!
Can the Rebels make it to the exhaust port?
Some of the Rebels hang back to give the two leads some cover
Vader and his cohorts are tearing the Rebels to pieces!
The fight continues on the surface as more Y-wings appear
Looks like trouble for Gray Squadron
Great piloting by Gray Squadron
Back to the trench, the exhaust port is sighted and target locked
Oh no! Only one Rebel fighter left in the trench!
Against all odds, the lone rookie X-wing pilot fires his proton torpedo…
The dramatic results of the proton torpedo shot, in slow motion: